How to Lace Volleyball Shoes? A Step-by-Step Guide
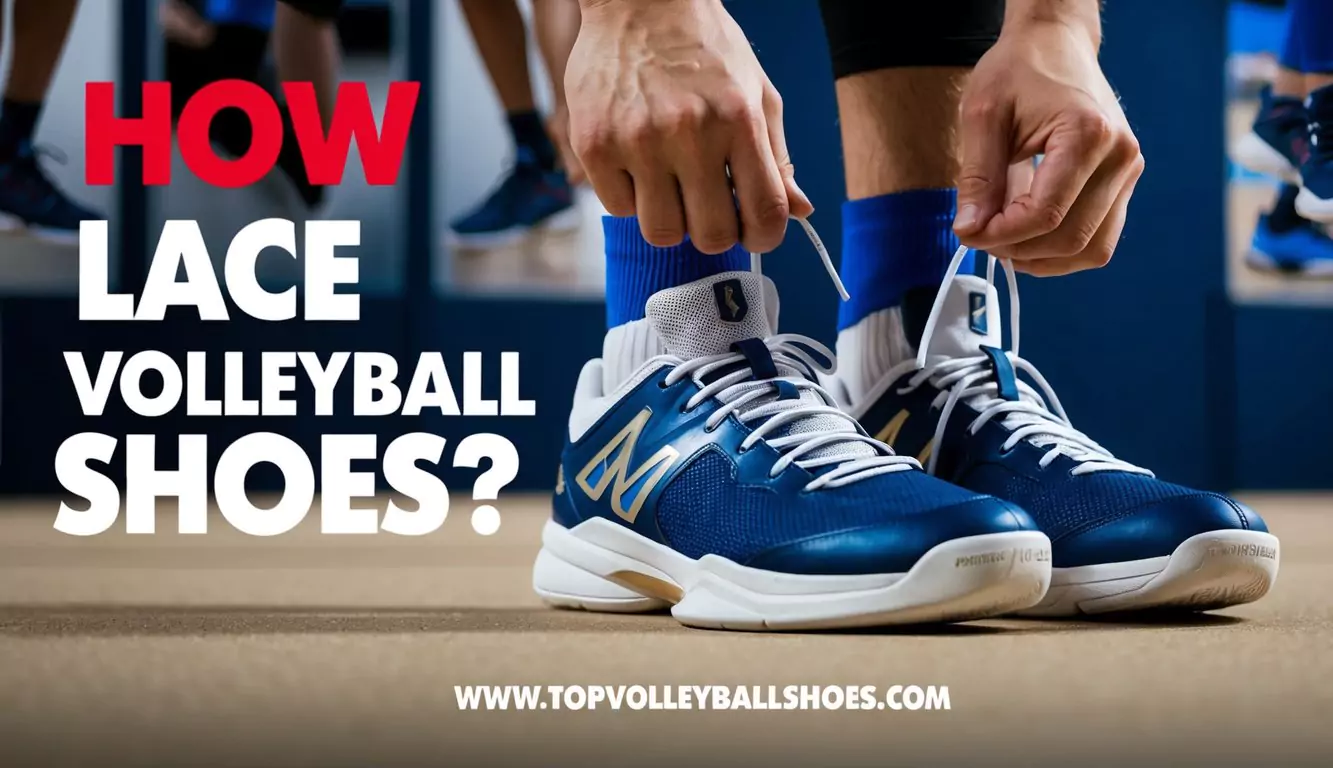
Lacing your volleyball shoes properly is essential for comfort and support during play. Here’s a step-by-step guide on how to lace them effectively:
Step-by-Step Guide to Lace Volleyball Shoes
- Start with the Right Laces:
- Make sure your volleyball shoes have laces that are long enough to go through all the eyelets without being too tight.
- Insert the Laces:
- Begin by threading the lace through the bottom eyelets (the holes closest to the toe) from the inside out. This creates a clean look and helps the shoe fit better.
- Crisscross the Laces:
- Take the lace from the left side and cross it over to the right eyelet, then pull it through from the outside.
- Next, take the lace from the right side and cross it over to the left eyelet, pulling it through from the outside again. Continue this crisscross pattern up the shoe.
- Lace Locking Technique (Optional):
- If you want extra support, especially during intense play, consider using a locking technique. When you reach the second-to-last eyelet, instead of crossing the laces, feed each lace through the top eyelet on the same side. This creates a loop that you can pull tight for a more secure fit.
- Finish with a Knot:
- Once you reach the top eyelet, tie your laces in a standard bow. Make sure it’s tight enough to prevent your shoes from coming loose but not so tight that it causes discomfort.
- Tuck Away Excess Lace:
- If you have long laces, you can tuck the excess laces into the sides of the shoe or use lace clips to keep them secure.
Properly lacing your volleyball shoes is essential for comfort and performance on the court. The right lacing technique can provide better ankle support and improve your stability during fast movements.
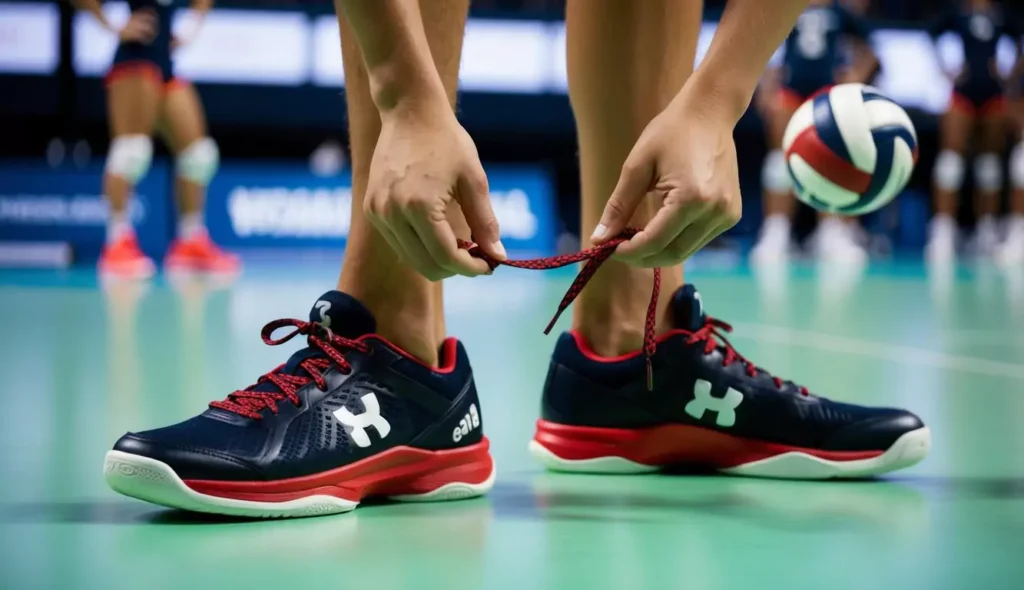
Different methods exist depending on your shoe type and personal preference. You can choose from standard lacing, high-top lacing, or even skipping eyelets to enhance fit and support. Understanding these techniques lets you customize your shoes for the best fit and support based on your playing style.
Mastering how to lace your volleyball shoes sets the foundation for confident movements on the court. A secure fit not only helps in preventing injuries but also allows for agile play, giving you an edge against your opponents.
Key Takeaways
- Proper lacing improves comfort and prevents injuries.
- Different lacing techniques cater to shoe styles and personal preferences.
- A secure fit enhances performance and stability during play.
Lacing Tips for Different Foot Shapes
- For Wider Feet: Use the “skip a hole” method. Lace normally but skip one eyelet on the sides where your foot is wider. This gives you more room.
- For Narrow Feet: You can tighten the laces more by using all the eyelets and ensuring they are snug.
Additional Techniques for Lacing Your Shoes
Lacing for Ankle Support: If you need more ankle support, consider using higher eyelets or even wrapping the laces around your ankle before tying.
Heel Lock Lacing: This technique helps prevent your heel from slipping. After lacing normally, create a loop at the top eyelet on each side and then cross the laces through these loops before tying them.
Frequently Asked Questions
When lacing your volleyball shoes, it’s important to focus on techniques that provide support, comfort, and security. The following sections will address specific methods and patterns to help you achieve the best fit for your needs.
What are the step-by-step instructions for lacing volleyball shoes for optimal support?
Start with your shoes unfastened. Begin lacing from the bottom eyelet, pulling the laces through each hole in a criss-cross pattern. Ensure that each cross pulls tight. Continue this pattern up to the top, creating a snug fit. For added support, you can tie a double knot at the end.
What lacing techniques can provide the best fit and comfort in volleyball shoes?
A common technique is the criss-cross lacing method. This helps to evenly distribute pressure across your foot. You can also use a figure-eight pattern, which offers more lockdown for your midfoot. Adjust the tightness as needed for comfort without restricting movement.
How do you perform heel lock lacing on volleyball shoes to prevent slipping?
To execute heel lock lacing, use the criss-cross pattern but leave the last eyelet open. After lacing up, thread the lace through the last eyelet on each side. Cross the laces and pull tight before tying your bow. This technique secures your heel, reducing slippage inside the shoe.
Are there different ways to lace volleyball shoes to accommodate wider feet?
Yes, you can use the skip lacing technique. Start normally and skip one eyelet on each side to create more room. This allows your foot to fit comfortably without excessive pressure. Another method is to lace loosely at the forefoot while keeping the ankle tight.
What is the proper way to lace Asics Gel Kayano 14 for volleyball?
Begin with the laces untied. Use the standard criss-cross method but pay attention to the fit across the midfoot. Ensure the lace tension is even throughout. The Gel Kayano has extra cushioning, so adjust the laces to accommodate that comfort while keeping your foot secure.
What are the benefits of specific lacing patterns for volleyball performance and injury prevention?
Specific lacing patterns can improve fit and enhance performance. They do this by stabilizing your foot during movement.
A well-fitted shoe can reduce the risk of blisters and injuries. Meanwhile, proper lacing helps distribute pressure evenly. This allows for better control and agility on the court.

As a US hitter with a passion for volleyball, I bring firsthand experience and insight into what makes the best volleyball shoes stand out. From powerful spikes to swift court movements, I know how crucial the right footwear is for peak performance.

